Best Document Scanners to Buy in July 2026

Brother DS-640 Compact Mobile Document Scanner, (Model: DS640) 1.5"x2"x11.9"
-
FAST 16 PPM SCANNING SAVES TIME FOR BUSY PROFESSIONALS.
-
PORTABLE DESIGN FOR ON-THE-GO SCANNING ANYWHERE, ANYTIME.
-
SCAN TO MULTIPLE DESTINATIONS WITH VERSATILE INCLUDED SOFTWARE.


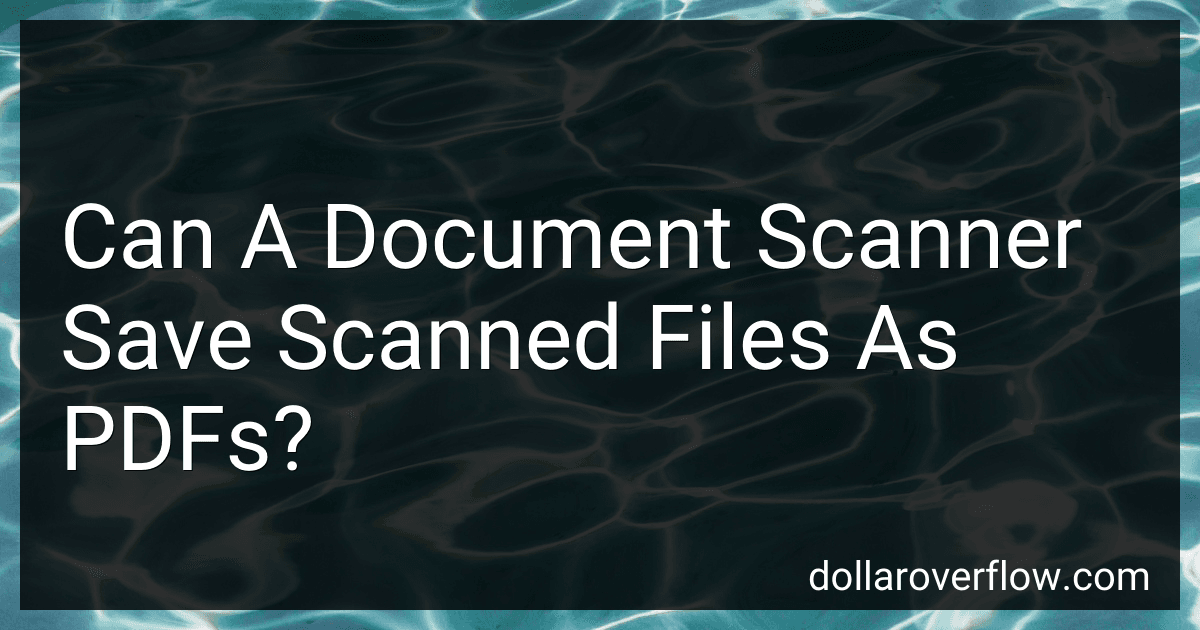
ScanSnap iX2500 Premium Wireless or USB High-Speed Cloud Enabled Document, Photo & Receipt Scanner with Large 5" Touchscreen for Mac or PC, Includes 4-Year Protection Plan
-
4-YEAR PROTECTION PLAN: ENJOY PEACE OF MIND AND SEAMLESS PRODUCTIVITY!
-
FAST & EFFICIENT SCANNING: 45PPM, DOUBLE-SIDED, 100-SHEET FEEDER.
-
WI-FI 6 CONNECTIVITY: BEST SPEED AND SECURITY; SCAN WITHOUT A COMPUTER!
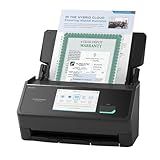
ScanSnap iX2500 Wireless or USB High-Speed Cloud Enabled Document, Photo & Receipt Scanner with Large 5" Touchscreen and 100 Page Auto Document Feeder for Mac or PC, Black
- FAST 45PPM DOUBLE-SIDED SCANNING WITH A 100-SHEET FEEDER.
- CUSTOMIZABLE PROFILES FOR QUICK SHARING TO DEVICES AND CLOUDS.
- RELIABLE WI-FI 6 AND USB-C FOR SEAMLESS CONNECTIVITY OPTIONS.
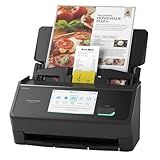
ScanSnap iX1300 Compact Wireless or USB Double-Sided Color Document, Photo & Receipt Scanner with Auto Document Feeder and Manual Feeder for Mac or PC, Black
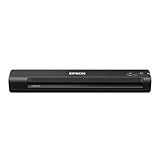
Epson WorkForce ES-50 Portable Sheet-Fed Document Scanner for PC and Mac
- ULTRA-FAST SCANNING: JUST 5.5 SECONDS PER PAGE!
- COMPACT, PORTABLE DESIGN FOR ON-THE-GO CONVENIENCE.
- VERSATILE DOCUMENT HANDLING: SCANS LONG PAGES, IDS, RECEIPTS.
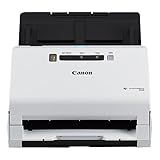
Canon imageFORMULA R40 - Office Document Scanner, Windows and Mac, Duplex Scanning, Easy Setup, Scans a Wide Variety of Documents, Scans to Cloud
-
CONVERT PAPER TO SEARCHABLE DIGITAL FORMATS WITH EASE.
-
FAST DUPLEX SCANNING UP TO 80 IMAGES PER MINUTE-BOOST EFFICIENCY!
-
INCLUDES POWERFUL SOFTWARE FOR ENHANCED DOCUMENT MANAGEMENT.
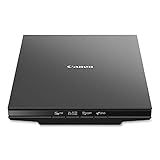
Canon Canoscan Lide 300 Scanner (PDF, AUTOSCAN, COPY, SEND)
- AUTO SCAN MODE FOR EFFORTLESS DOCUMENT DETECTION AND DIGITIZATION.
- USB CONNECTIVITY FOR EASY PLUG-AND-PLAY USE WITH ANY DEVICE.
- PERFECT FOR DIGITIZING BOTH DOCUMENTS AND IMAGES WITH CLARITY.
Many document scanners are capable of saving scanned files directly as PDFs. This functionality is commonly found in both standalone scanners and all-in-one printers with scanning capabilities. When a document is scanned, the scanner's software typically provides options for the output format, including PDF. Saving a scanned document as a PDF offers advantages such as ease of sharing and consistent formatting across different devices. Additionally, PDF files are generally compact, making them suitable for digital storage without taking up large amounts of space. Some advanced scanners also offer features like optical character recognition (OCR) which can convert scanned images into searchable and editable PDF files. This enhances the document's accessibility and usability. Make sure to check the specifications of your scanner to ensure it supports PDF output.
How to scan colored documents to PDF?
Scanning colored documents to PDF involves using a scanner or a multifunction printer with scanning capabilities. Here's a general guide for both Windows and macOS users:
Using a Scanner or Multifunction Printer
- Connect and Install: Make sure your scanner or multifunction printer is connected to your computer, and you've installed the necessary drivers or software. Check the manufacturer's website for the latest drivers if needed.
- Prepare the Document: Place the colored document you want to scan face-down on the scanner glass or face-up in the document feeder if you're scanning multiple pages.
- Use Scanning Software: Windows: Open the 'Windows Fax and Scan' application or any scanning software provided by the manufacturer. Select 'New Scan' or a similar option. Choose 'Color' under the 'Profile' or 'Color Mode' settings. Set the 'File Type' to PDF if available. If not, you may need to save it in another format first and convert it later. Adjust other settings as needed, such as resolution (300 DPI is generally good for text documents). Click 'Preview' to see how your scan will look, then adjust settings if necessary. Click 'Scan' to begin the process. macOS: Open 'Image Capture' from the Applications folder or use the 'Preview' app. Select your scanner from the devices list. Set the scan mode to 'Color'. Choose 'PDF' as the file format from the list of options. Adjust settings like resolution and location where you want to save the file. Click 'Preview' to check the scan and adjust settings if necessary. Click 'Scan' to start scanning the document.
- Save the Scanned Document: Ensure that the scanned document is saved as a PDF and store it in your desired location on your computer.
- Edit or Organize (Optional): If you scanned multiple pages separately, you might need to use a PDF editor or an app like Adobe Acrobat, PDFsam, or even online services to combine them into a single document.
Tips for a Better Scan
- Clean the scanner bed: Dust or smudges can affect image quality.
- Optimal Resolution: 300 DPI is typically fine for most documents, but increase to 600 DPI for higher quality if needed.
- Check Color Settings: Ensure the color settings are not set to black and white if you're scanning a colored document.
By following these steps, you can efficiently scan colored documents to PDF using your scanner or multifunction printer, allowing you to keep digital copies in high quality.
How to reduce the file size of a scanned PDF?
Reducing the file size of a scanned PDF can be achieved through several methods. Here are some effective techniques you can try:
- Compress with Acrobat: Open the PDF in Adobe Acrobat. Go to "File" > "Save As Other" > "Reduced Size PDF." Choose a version compatibility if prompted, then save.
- Use Online Tools: Websites like Smallpdf, ILovePDF, or PDF Compressor offer simple ways to compress PDFs without requiring software installation. Upload your file, and the service will compress and let you download it.
- Change Scan Settings: If you are rescanning, adjust the settings to lower the resolution (e.g., 150 dpi instead of 300 dpi). Use grayscale instead of color if color is unnecessary. Choose a compressed file format during scanning, like JPEG or PNG.
- Reduce Image Quality: Use software like Adobe Acrobat Pro or third-party tools like Foxit Reader to optimize images within the PDF. Go to "Tools" > "Optimize PDF" and adjust the image quality settings.
- Remove Unnecessary Pages/Content: Open the PDF in a tool that allows editing (such as Adobe Acrobat). Delete any pages that are not needed.
- Merge Non-essential Documents: If the PDF contains separate documents that don't need to be together, split the document. Smaller, separate PDFs might be more manageable.
- Use PDF Optimizer: In Adobe Acrobat Pro, the "PDF Optimizer" tool gives more control over what to keep. You can access this through "File" > "Save As Other" > "Optimized PDF."
- Reduce File Size in Preview (macOS): Open the PDF in Preview. Go to "File" > "Export," select "Quartz Filter," and then "Reduce File Size."
- Use Third-Party Software: Software like PDFsam or PDF-XChange Editor provides desktop solutions to compress PDF files by editing and saving with lower settings.
Try these methods and choose the one that best fits your needs based on the tools and software you have available.
What is a PDF/A format?
PDF/A is a standardized version of the Portable Document Format (PDF) specifically designed for long-term digital archiving and preservation. Developed by the International Organization for Standardization (ISO), PDF/A is intended to ensure that documents can be faithfully reproduced in the future, regardless of the software and hardware used to create or access them. Here's an overview of its key characteristics:
- Self-Contained: PDF/A files are self-contained, meaning they include all the necessary information to render the document. This includes fonts, color profiles, and images, ensuring that the document can be accurately displayed even if the original software or resources are unavailable.
- Prohibition of Certain Features: PDF/A restricts certain PDF features that are not suitable for long-term archiving. For example, it disallows the use of audio and video content, JavaScript, and encryption, which might compromise future accessibility or security.
- Metadata Requirements: PDF/A files support rich metadata, which helps in organizing and searching archived documents. This includes descriptive data about the document, such as title, author, and subject, as well as technical details like the creation date and modifications.
- Consistent Rendering: By embedding all resources within the file and adhering to strict standards, PDF/A ensures consistent rendering across different platforms and devices over time.
There are different conformance levels (such as PDF/A-1, PDF/A-2, and PDF/A-3), with each offering varying features and compliance rules to cater to different archiving needs. For example, PDF/A-1 focuses on basic archiving requirements, while PDF/A-2 and PDF/A-3 introduce additional features and support for more complex documents.
How to scan a multi-page document into a single PDF?
Scanning a multi-page document into a single PDF can be achieved through several methods, depending on the equipment and software available to you. Here are some common options:
Using a Multi-Function Printer/Scanner:
- Check Scanner Capabilities: Ensure your scanner has a document feeder which allows for continuous scanning of multiple pages.
- Install Drivers and Software: Make sure the necessary drivers and software from the printer's manufacturer are installed on your computer.
- Access Scanner Software: Open the scanning software on your computer. This could be an application like Epson Scan, HP Scan, or a built-in feature in your operating system.
- Select PDF as Output: Choose PDF as the output format in the software settings.
- Place Documents: Load the documents into the automatic document feeder (ADF) of the scanner.
- Choose Scan Settings: Configure your settings for color, resolution, and scan quality.
- Start Scanning: Initiate the scan. The software will typically prompt you to continue feeding pages until the document is complete.
- Save: Once scanning is finished, the software should offer an option to save the document as a single PDF file.
Using a Flatbed Scanner:
- Install Scanner Software: Make sure the flatbed scanner software is installed.
- Choose PDF Format: Select PDF as the format in the scanning options.
- Scan First Page: Place the first page of your document on the flatbed and start the scan.
- Add Pages: After the first page is scanned, the software should allow you to scan additional pages and add them to the same PDF.
- Finalizing: Once all pages are scanned, save the document as a single PDF file.
Using a Smartphone or Tablet:
- Download a Scanning App: Install a scanning app like Adobe Scan, CamScanner, or Microsoft Office Lens on your device.
- Capture Images: Use the app to take pictures of each page in sequence.
- Adjust and Organize: Use the app’s tools to crop, adjust, and reorder pages as necessary.
- Save as PDF: The app should have an option to save or export the scanned pages as a single PDF.
Using a Computer:
- Windows: You can use Windows Fax and Scan or third-party applications like NAPS2 (Not Another PDF Scanner 2).
- macOS: Use the Image Capture application to scan pages and Preview to combine them into a single PDF.
Using Online Services:
- Scan Each Page: Scan each page individually into image files (such as JPEG).
- Upload and Merge: Use an online service like Smallpdf or ILovePDF to upload the image files and merge them into a single PDF document.
General Tips:
- Quality Settings: Ensure all scanned pages are of the same quality and orientation before saving.
- File Management: Save your PDF with a clear and concise filename to make it easy to retrieve later.
- Backup: Consider backing up your PDF to a cloud service or external drive for safekeeping.
By following these steps, you should be able to scan multi-page documents into a single PDF effectively.
How to scan books into PDF format?
Scanning books into PDF format can be a great way to digitize your library and ensure easy access to your collection. Here’s a step-by-step guide to help you through the process:
- Prepare the Books: Ensure that the books you are planning to scan are in good condition to avoid damage during the scanning process. Remove any dust or debris from the pages.
- Choose a Scanner: Flatbed Scanner: Ideal for high-quality scans, especially for hardcover books. However, it may be slower. Book Scanner: Designed specifically for scanning books, often with features to help keep pages flat and reduce glare. Document Scanner: Can be faster, but may not be suitable for bound books unless they are unbound. Smartphone Scanner Apps: Apps like Adobe Scan, CamScanner, or Microsoft Lens can be used for quick, lower resolution scans.
- Scan Settings: Choose the resolution (DPI): 300 DPI is generally sufficient for text documents, but you may want 600 DPI for higher quality. Select the color setting: Grayscale for text-only documents, color if you have images or colored text. Set the file format to PDF.
- Scanning Process: Carefully place the book flat on the scanner to avoid curvature and distortion. If necessary, use a weight or a finger to gently hold the book open, taking care not to shadow the page. Scan each page or set of pages in sequence. Some scanners offer an "automatic document feeder" (ADF), but these are generally not suitable for bound books.
- Using Software: Use scanning software provided with the scanner to organize scanned pages into a PDF. Some software options also offer the ability to adjust brightness, contrast, and apply OCR (optical character recognition) to make text searchable. For those using smartphone apps, most automatically compile images into a single PDF document.
- Post-Processing: Review the PDF for any page alignment issues or missing pages. Use PDF editing software (like Adobe Acrobat, Nitro PDF, or free alternatives like PDFsam) to reorder, rotate, or delete pages if necessary.
- Save and Backup: Save the PDF document with a clear, descriptive name. Consider saving a backup copy on a cloud service or an external hard drive.
- Legal Considerations: Ensure that you respect copyright laws and scan books only for personal use, unless you have explicit permission to distribute or share.
By following these steps, you should be able to efficiently convert physical books into digital PDF format.