Best Document Scanners to Buy in July 2026
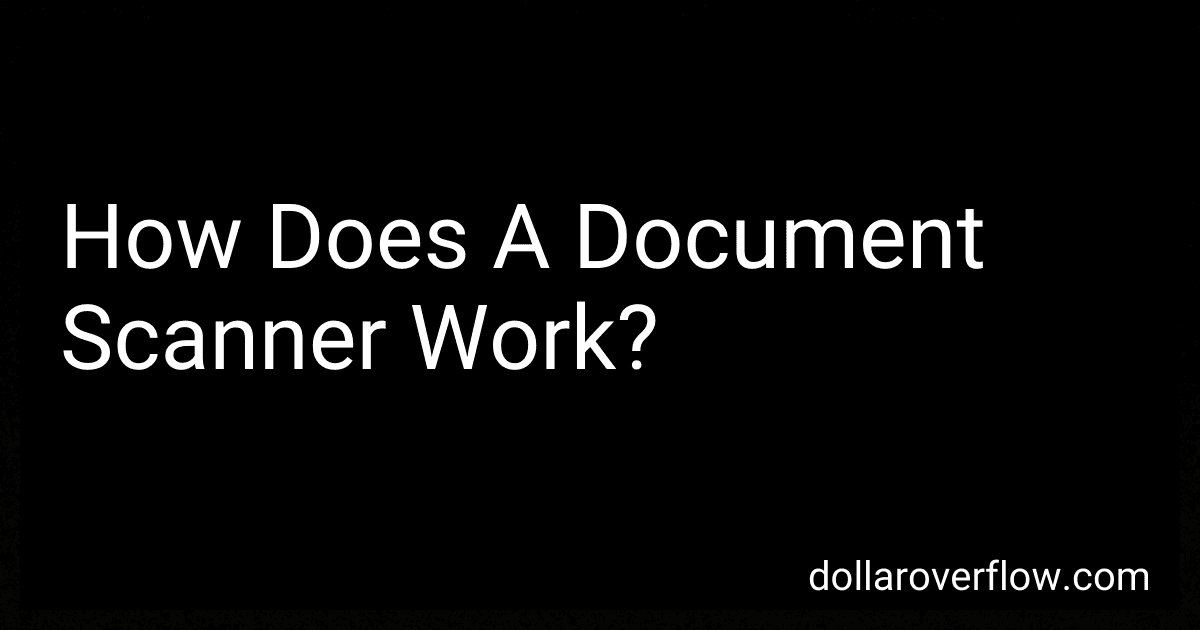
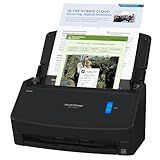
ScanSnap iX2500 Wireless or USB High-Speed Cloud Enabled Document, Photo & Receipt Scanner with Large 5" Touchscreen and 100 Page Auto Document Feeder for Mac or PC, Black
-
FAST 45PPM DUAL-SIDED SCANS WITH A 100-SHEET FEEDER FOR EFFICIENCY.
-
CUSTOMIZABLE PROFILES FOR QUICK SCANS TO PC, MAC, OR CLOUDS.
-
RELIABLE WI-FI 6 AND USB-C FOR SEAMLESS CONNECTIONS AND DATA SAFETY.


ScanSnap iX2500 Premium Wireless or USB High-Speed Cloud Enabled Document, Photo & Receipt Scanner with Large 5" Touchscreen for Mac or PC, Includes 4-Year Protection Plan
- 4-YEAR PROTECTION PLAN FOR PEACE OF MIND AND PRODUCTIVITY
- FAST 45PPM SCANNING WITH WI-FI 6 FOR SEAMLESS CONNECTIONS
- EFFORTLESS DOCUMENT MANAGEMENT AND CUSTOMIZABLE PROFILES

Brother DS-640 Compact Mobile Document Scanner, (Model: DS640) 1.5"x2"x11.9"
-
FAST SCANS: COLOR AND B&W UP TO 16 PPM FOR QUICK DOCUMENT HANDLING.
-
PORTABLE CONVENIENCE: MICRO USB-POWERED FOR SCANNING ANYWHERE YOU GO.
-
VERSATILE SOFTWARE: SCAN TO MULTIPLE DESTINATIONS, INCLUDING CLOUD SERVICES.
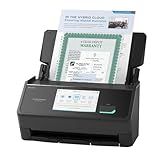
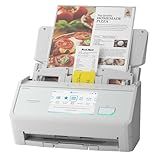
Canon imageFORMULA R40 - Office Document Scanner, Windows and Mac, Duplex Scanning, Easy Setup, Scans a Wide Variety of Documents, Scans to Cloud
-
SEAMLESSLY DIGITIZE DOCUMENTS: SCAN PAPER TO SEARCHABLE FORMATS.
-
FAST DUAL-SIDE SCANNING: UP TO 80 IMAGES PER MINUTE, EFFORTLESS!
-
BROAD COMPATIBILITY: WORKS WITH WINDOWS AND MAC VIA TWAIN DRIVER.
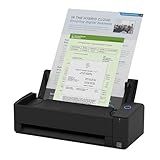
ScanSnap iX1300 Compact Wireless or USB Double-Sided Color Document, Photo & Receipt Scanner with Auto Document Feeder and Manual Feeder for Mac or PC, Black
-
SPACE-SAVING DESIGN KEEPS YOUR WORKSPACE TIDY AND FUNCTIONAL.
-
VERSATILE SCANNING FOR DOCUMENTS, PHOTOS, AND CARDS IN ONE DEVICE.
-
USER-FRIENDLY FEATURES ENSURE PROFESSIONAL RESULTS WITH NO HASSLES.
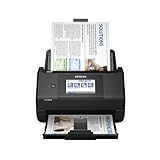
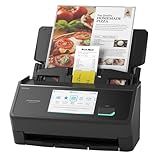
Epson Workforce ES-580W Wireless Color Duplex Desktop Document Scanner for PC and Mac with 100-sheet Auto Document Feeder (ADF) and Intuitive 4.3" Touchscreen
- SCAN AND SEND WIRELESSLY: EFFORTLESS SCANNING TO DEVICES AND CLOUD!
- FAST MULTIFUNCTIONAL HANDLING: 100-SHEET FEEDER FOR ALL PAPER TYPES!
- NO PC REQUIRED: SAVE SCANS DIRECTLY TO USB OR POPULAR CLOUD SERVICES!
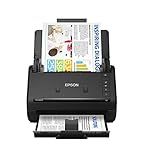
Epson Workforce ES-400 II Color Duplex Desktop Document Scanner for PC and Mac, with Auto Document Feeder (ADF) and Image Adjustment Tools, ES-400 II
-
50-SHEET AUTO FEEDER: FAST SCANNING FOR BUSY HOME AND OFFICE NEEDS.
-
EPSON SCANSMART SOFTWARE: EFFORTLESSLY MANAGE AND SHARE YOUR SCANS.
-
SEAMLESS INTEGRATION: EASILY SYNC WITH POPULAR DOCUMENT MANAGEMENT SYSTEMS.
ScanSnap iX2500 Wireless or USB High-Speed Cloud Enabled Document, Photo & Receipt Scanner with Large 5" Touchscreen and 100 Page Auto Document Feeder for Mac or PC, White
- FAST 45PPM SCANNING WITH A LARGE TOUCHSCREEN FOR EFFORTLESS USE.
- WI-FI 6 AND USB-C FOR SECURE, STABLE CONNECTIONS AND CLOUD ACCESS.
- AUTOMATIC OPTIMIZATIONS ENSURE SMOOTH ORGANIZATION AND FILE MANAGEMENT.
ScanSnap iX1400 High-Speed Simple One-Touch Button Color Document, Photo & Receipt Scanner with Auto Document Feeder for Mac or PC, Black
- EFFORTLESS ONE-TOUCH SCANNING FOR INSTANT DOCUMENT ORGANIZATION.
- VERSATILE WITH ROBUST SUPPORT FOR ALL PAPER TYPES AND SIZES.
- STABLE USB CONNECTION ENSURES RELIABLE, CONSISTENT PERFORMANCE.
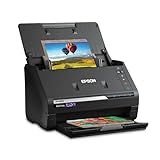
Epson FastFoto FF-680W Wireless High-Speed Photo and Document Scanning System, Black
-
SCAN 1 PHOTO/SEC & BATCH-SCAN 36: SAVE TIME, PRESERVE MEMORIES!
-
RESTORE, ENHANCE & SHARE PHOTOS EASILY WITH THE EPSON FASTFOTO APP.
-
FLEXIBLE FORMATS FOR SCANNING: JPEG, TIFF, AND MORE FOR EVERY NEED!
A document scanner works by converting physical documents into digital files. When you place a document on the scanner's glass surface, the scanner's light source illuminates the document. This light reflects off the document and is captured by a sensor, often a Charge-Coupled Device (CCD) or a Contact Image Sensor (CIS). The sensor reads the varying levels of light reflecting off different parts of the document, converting this information into electrical signals. These signals are then processed to create a digital image that mimics the original document. Some scanners can also perform optical character recognition (OCR) to convert typed or printed text into editable digital text. This entire process allows the document to be stored, shared, and manipulated digitally while preserving the integrity of the original format and content. The scanner's software then allows you to save the scanned document in various formats, such as PDF, JPEG, or TIFF, depending on your needs.
How to scan documents directly to a cloud service?
Scanning documents directly to a cloud service can be a convenient way to store and access files remotely. Here's a general guide to help you set up and use this functionality:
1. Check Your Scanner Compatibility
- Built-in Cloud Scanning: Some modern scanners and multifunction printers have built-in options to scan directly to cloud services like Google Drive, Dropbox, or OneDrive. Check your device's manual or manufacturer's website to see if this feature is supported.
- Wi-Fi Connectivity: Ensure your scanner is connected to your local Wi-Fi network. This is necessary for accessing the internet and cloud services.
2. Set Up Your Scanner Software
- Install Drivers and Software: Make sure the scanner drivers and any proprietary software are installed on your computer. Often, these come on a CD with the scanner or can be downloaded from the manufacturer's website.
- Use Manufacturer's App: If your scanner has an app (for example, HP Smart, Canon PRINT), download it to your computer or smartphone. These apps often support cloud integration.
3. Configure Cloud Services
- Create a Cloud Account: If you don’t have an account for the desired cloud service, set one up. Common services include Google Drive, Dropbox, Microsoft OneDrive, Box, and Evernote.
- Link Cloud Account with Scanner: Use the scanner’s software or app to connect your cloud account with the scanner. You may need to enter your credentials and allow permission for the scanner to upload files.
4. Using Third-Party Apps
- Mobile Apps: Apps like Adobe Scan, CamScanner, or Microsoft Office Lens on your smartphone can scan documents using your phone's camera and upload them directly to a cloud service.
- Desktop Software: Tools like VueScan and NAPS2 can also support scanning to cloud services if built-in options aren’t available.
5. Perform the Scan
- Select Cloud Destination: On your scanner’s interface or software, choose the desired cloud service as the destination.
- Choose Document Settings: Specify the scan settings such as resolution, color, and file format (PDF, JPEG, etc.).
- Scan and Upload: Place your document in the scanner and press "Scan." The file should automatically upload to the cloud.
6. Automate the Process (Optional)
- Create Automations: If you frequently scan documents, look for automation options within your scanner software, or use third-party services like IFTTT or Zapier to create automated workflows that move files to specific folders within your cloud account.
7. Troubleshooting
- Network Issues: Ensure your scanner is connected to the Wi-Fi network. Troubleshoot any connectivity issues.
- Cloud Permissions: Double-check that the cloud service permissions are correctly configured.
- Software Updates: Ensure both your scanner’s and third-party software are up-to-date to avoid compatibility issues.
This process should help you efficiently upload scanned documents to a cloud service for easy access and retrieval. If you encounter specific issues, refer to the user manuals or support forums for your scanner and cloud service provider.
What is the best document scanner for home use?
Choosing the best document scanner for home use depends on your specific needs, such as the volume of scanning, the type of documents, and your budget. However, a few models are frequently recommended for their reliability and functionality:
- Fujitsu ScanSnap iX1600: This model is known for its speed, ease of use, and excellent image quality. It offers wireless scanning to cloud services, computers, and mobile devices, making it very convenient for home use.
- Brother ADS-1700W: A compact and efficient model, the Brother ADS-1700W is great for home offices. It features wireless networking, offers duplex (double-sided) scanning, and is known for its user-friendly interface.
- Canon imageFORMULA R40: This scanner is appreciated for its reliable performance and easy setup. It features duplex scanning and is suited for both photos and documents, making it versatile for home use.
- Epson Workforce ES-500W II: Known for its fast scanning speed and robust connectivity options, this scanner is excellent for handling a variety of document types and sizes. It supports wireless scanning and has a reliable feeder.
- Doxie Go SE: If portability is a priority, Doxie Go SE is a popular choice. It's compact, battery-powered, and can scan without a computer. It's ideal for those who need to scan on the go or have limited space.
When selecting a scanner, also consider features like optical character recognition (OCR), ease of integration with software you use, and customer reviews to ensure it meets your expectations.
How to scan photos using a document scanner?
Scanning photos with a document scanner can be a straightforward process, but it's important to ensure the quality and settings are optimized to preserve the details of your images. Here’s a step-by-step guide to help you scan photos effectively:
- Prepare the Scanner and Workspace: Ensure your scanner is clean and free of dust. Use a soft, lint-free cloth if needed. Connect the scanner to your computer and turn it on.
- Prepare the Photos: Handle photos by the edges to avoid fingerprints. Remove any dust or debris from the photo surface with a soft, dry cloth.
- Install and Open the Scanning Software: Use the manufacturer’s software or a compatible scanning program installed on your computer.
- Select the Appropriate Settings: Resolution: Choose an appropriate DPI (dots per inch). For photos, 300 DPI is standard for general use, while 600 DPI or higher may be better for archiving or printing large sizes. Color Mode: Select color, grayscale, or black & white depending on the photo. Color is generally recommended for preserving detail. File Format: JPEG is commonly used for photos, but TIFF might be a better choice for high-quality archival purposes.
- Place the Photos on the Scanner: Open the scanner lid and place the photo face down on the scanning bed. Use alignment guides on the bed if available. You can often scan multiple photos at once, provided they fit and do not overlap. Leave space between images for easier cropping later.
- Preview the Scan: Use the software to perform a preview scan. Adjust the placement and settings based on the preview. Crop the scan area to exclude scanner bed borders and focus on the photo itself.
- Scan the Photos: Once satisfied with the preview, initiate the final scan. Wait until the scan is complete before opening the lid or removing the photos.
- Review and Edit: Check the scanned images for quality and accuracy. Use photo editing software to make adjustments such as cropping, rotating, or enhancing colors if needed.
- Save the Scans: Save the images in your chosen format and location on your computer. Consider using a systematic naming convention and organized folder structure for easy retrieval.
- Backup and Preserve: Create backups of your scanned images on external drives or cloud storage to prevent loss.
By following these steps, you can digitize your photo collection effectively using a document scanner.
How to compare different document scanner brands?
Comparing different document scanner brands involves assessing several key factors to ensure you choose the right model for your needs. Here are some steps and criteria to consider:
- Usage Needs: Determine whether you need a scanner for personal, small business, or enterprise use. This will help narrow down models within a suitable category.
- Types of Scanners: Decide between different types of scanners: flatbed, sheet-fed, portable, and all-in-one printers with scanning capabilities.
- Scanning Speed: Compare the pages per minute (PPM) capability. A higher PPM is crucial for high-volume environments.
- Image Quality and Resolution: Look at the optical resolution, measured in dots per inch (DPI). Higher DPI indicates better image quality, useful for scanning photos or detailed documents.
- Duplex Scanning: Determine if you need duplex scanning (scanning both sides of the page simultaneously). It saves time and is important for efficiency.
- Connectivity Options: Check for options like USB, Wi-Fi, or Ethernet to ensure compatibility with your devices or network.
- Software Features: Evaluate bundled software for document management, OCR (Optical Character Recognition), and ease of integration with existing systems.
- Compatibility: Ensure the scanner is compatible with your operating systems, whether it’s Windows, macOS, or Linux.
- Brand Reputation and Reviews: Research brand reputation for reliability and customer service. Read online reviews and check consumer ratings to gauge satisfaction.
- Paper Handling Capacity: Consider the maximum page size and types of media the scanner can accommodate, and look at the Automatic Document Feeder (ADF) capacity for handling bulk scanning tasks.
- Portability: If mobility is a key factor, compare portable scanners based on size, weight, and power options (e.g. battery-operated).
- Price and Warranty: Compare price ranges and check warranty options. Consider the cost-effectiveness in terms of features offered.
- Energy Efficiency: Look for energy-efficient models to reduce electricity usage, especially if the scanner will be in frequent use.
- Additional Features: Some additional features like ultrasonic double-feed detection, background removal, and color dropout might be important depending on your requirements.
By carefully considering these factors, you can make a more informed decision when comparing different document scanner brands and models.